I have to admit, when rub-ons first hit the scrapbooking market, I was a little slow to embrace them. My first love was stickers (hence, Stickers N Fun) and I wondered why I would want to upgrade to using rub-ons.
However, once I started using them, everything completely changed. I still love my stickers, but I am now truly addicted to using rub-ons as well.
Click Here To View Our Full Range Of Scrapbooking Rub-Ons
When you first see them, rub-ons do look a lot like stickers. They feature designs or pictures for you to embellish your layouts with. However, unlike stickers, they do not have an adhesive backing. Instead, you transfer them to your page by rubbing them with a paddle-pop stick or similar implement.
While I will continue using stickers on my scrapbooking layouts, rub-ons do have many advantages over stickers and there are many different ways you can use them to make your pages extra special.
Rub-Ons Idea 1:
The quickest way to use rub-ons on your layouts is to simply place them around your page as you would with stickers and apply them. Once applied, your rub-ons appear as if they were directly printed or painted on your layout.
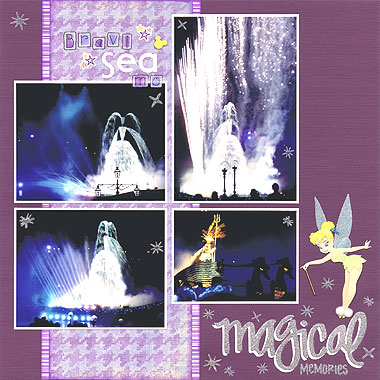
For example, in the layout below, a silver ‘Magical Memories’ rub-on was placed in the bottom right corner of the page.
The rub-on looks like it is part of the background paper. There are no ugly edges or borders, giving it a sophisticated, stylish look.
Rub-Ons Idea 2:
Once you become more accustomed to using rub-ons on your layouts, you might like to play around with layering and using them to accent your other embellishments.
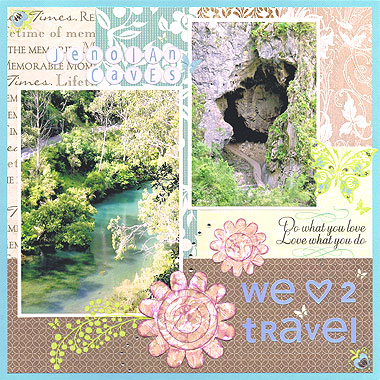
For example, in the layout below, a green branch rub-on has been used to embellish and draw attention to the large paper flower.
The rub-on has been positioned so that the end goes underneath the flower, making it appear as the one entity.
Rub-Ons Idea 3:
You will also notice that several of the rub-ons on the page above cross over different elements on the page. For example, the green branch rub-on sits not only on the brown background paper, but also on the photo itself.
In many cases, a sticker in the same position would end up with a crease across it where the join between different background elements occurs. Scrapbooking rub-ons do not suffer from the same problem and allow seamless transitions from one layer to the next.
Rub-Ons Idea 4:
Stickers are wonderful for applying to paper object likes scrapbooking layouts and cards, but their use is a little more limited when you are considering creating an altered item or two. Stickers won’t always stick to non-paper backgrounds.
Rub-ons, on the other hand can be applied to a wide variety or surfaces including paper, chipboard, glass, plastic, ribbon, twill, mesh or metal.
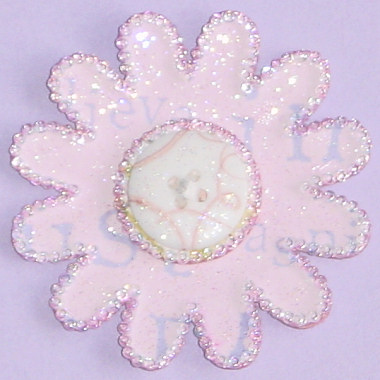
For example, when I created the magnet below, I used a rub-on to add a pink swirl across my button.
These are just a handful of ideas for using scrapbooking rub-ons. There are many more that I look forward to sharing with you throughout the year.
Click Here To View Our Full Range Of Scrapbooking Rub-Ons
I’d also love to hear any tips or ideas you have for using scrapbooking rub-ons on your layouts. Please leave a comment in the comments box below.


Outstanding as usual. I love the edges of the magnet. Cheers, Laura
This is great stuff. i am new to this and need all the ideas I can get. This is great thanks,
Mary
I have always been hesitent on using rub ons so hope now I will gain confidence by reading your comments, thanks for your help.
Ronda